Trézor.io/Start | Getting Started & Secure Device Setup
Setting up a hardware wallet is one of the most important steps you can take to protect your digital assets. Trézor, a global leader in non-custodial crypto security, offers a simple onboarding process that begins at Trézor.io/Start. Whether you are new to cryptocurrency or upgrading from a software wallet, this guide provides a clear, step-by-step explanation of how to initialize your Trezor device, secure your recovery seed, install Trezor Suite, and begin managing your coins safely.
This comprehensive guide walks you through the essential setup process, security best practices, and what to expect as a first-time Trezor user.
What Is Trézor.io/Start?
Trézor.io/Start is the official starting page for initializing a new Trezor hardware wallet. It serves as the gateway to secure device setup, firmware installation, and access to Trezor Suite—the desktop and browser interface used to manage your crypto. The page helps ensure users are following verified steps when setting up their wallet for the first time.
Visiting the official start page ensures that you avoid unsafe third-party instructions and reduces the risk of phishing. Because crypto security relies heavily on user vigilance, using only official Trezor resources is essential.
Why Choose a Trezor Hardware Wallet?
Trezor wallets are designed to store your private keys offline, keeping them isolated from the internet and thereby shielded from remote attacks. Unlike centralized exchanges or online wallets, a hardware wallet gives you complete ownership and control of your cryptocurrency.
Key security advantages include:
Offline cold-storage protection for your keys
PIN protection to prevent unauthorized device access
Recovery seed backup enabling full account restoration
Open-source software, audited by the global security community
Passphrase option for enhanced protection
Integrated secure environment with Trezor Suite
Whether you hold Bitcoin, Ethereum, or hundreds of other supported assets, Trezor delivers strong security without compromising usability.
Step 1: Unbox Your Trezor Device
When your Trezor device arrives, inspect the packaging carefully. Check for:
Intact box seals
No signs of tampering or re-labeling
Correct USB cable and accessories
Two or more recovery seed cards
Original hologram on the device (depending on model)
Never use a device that appears altered or previously opened.
Step 2: Visit Trézor.io/Start
Open your browser and go directly to:
Trézor.io/Start
This ensures you are on the official, secure onboarding page. Avoid clicking setup links from emails, social media, or ads—always type the address manually to reduce the risk of phishing.
The site will guide you to the correct instructions for your device model:
Trezor Model T
Trezor Model One
Trezor Safe 3 (if applicable)
Each model has its own optimized setup flow, but the basic principles remain the same.
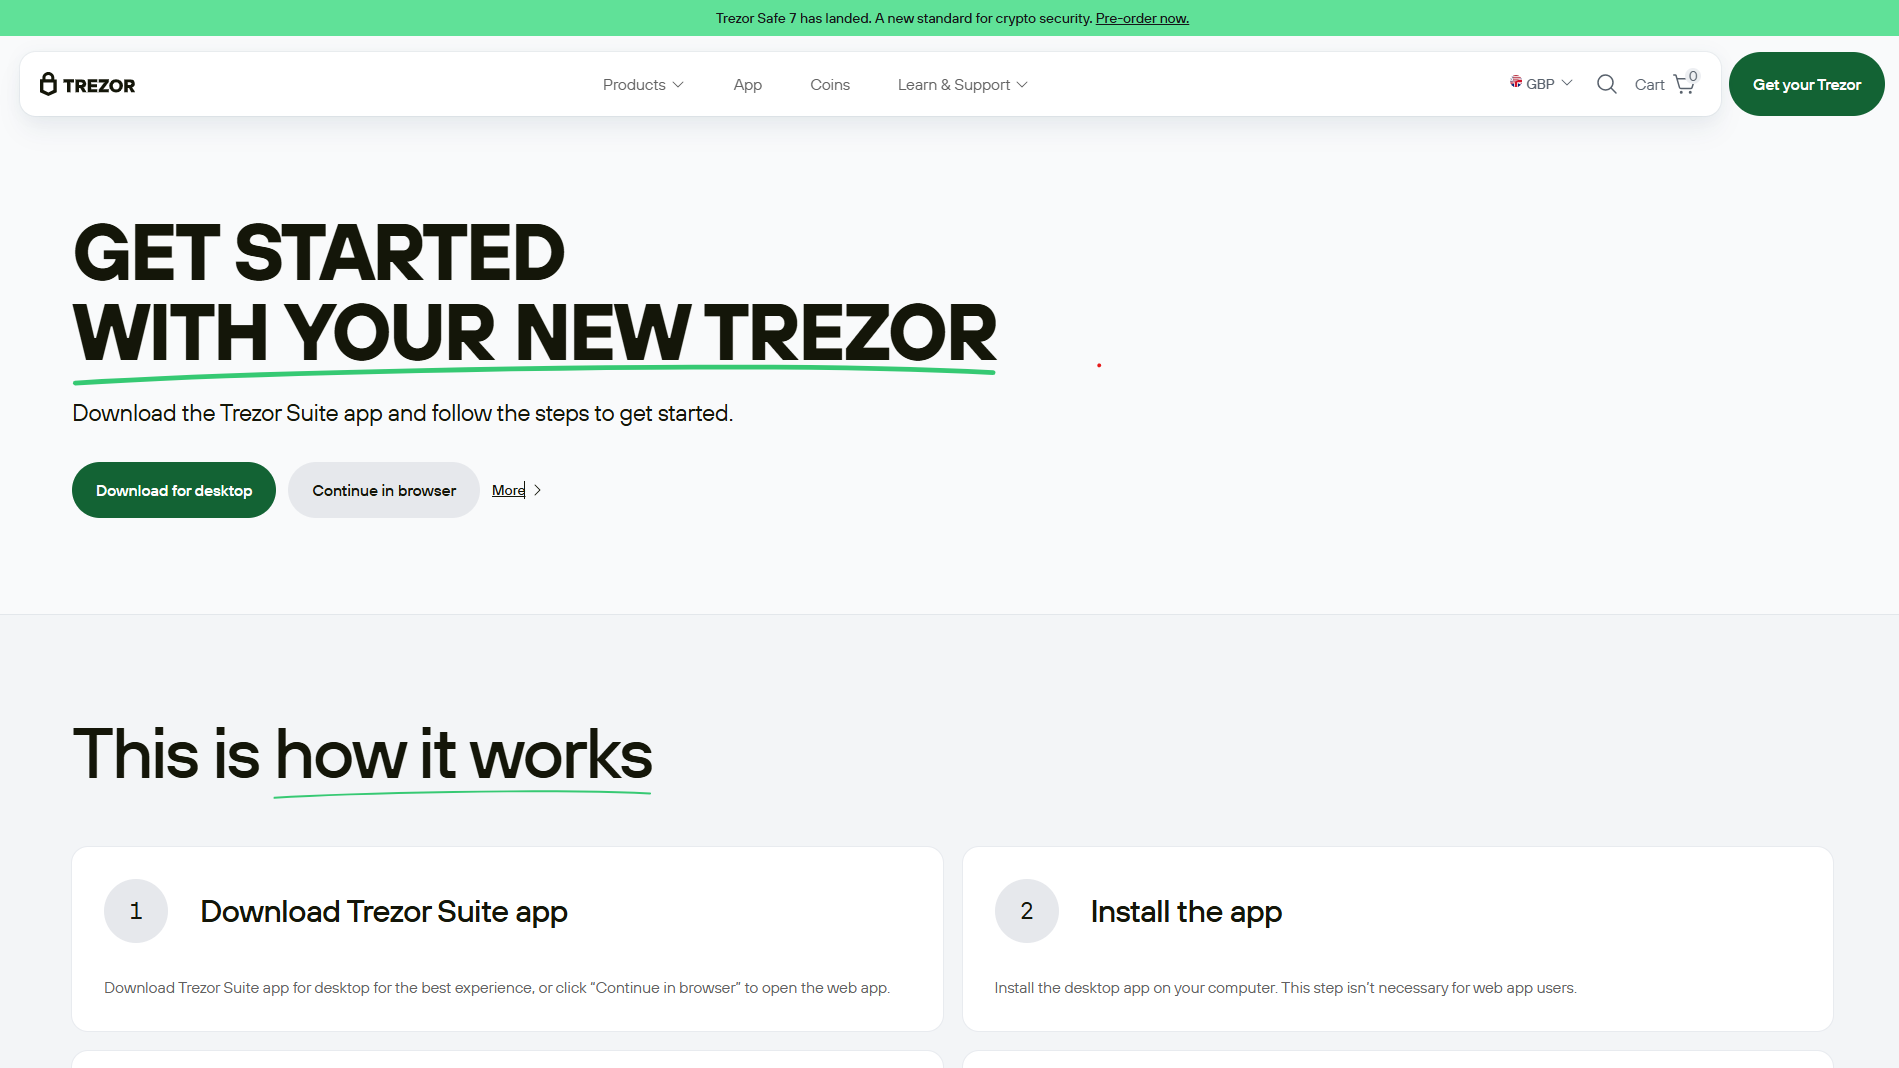
Step 3: Download and Install Trezor Suite
Trezor Suite is the official application for managing your wallet. From the Start page, download the latest version for your operating system:
Windows
macOS
Linux
Trezor Suite provides:
Secure coin management
Firmware updates
Portfolio tracking
Token support
Built-in Tor option for advanced privacy
Once installation is complete, launch Trezor Suite and connect your device via USB.
Step 4: Install or Update Firmware
If your Trezor is brand new, it usually arrives without firmware installed. This ensures you are the very first person to install it.
Trezor Suite will automatically prompt you to:
Install new firmware
Verify firmware authenticity
Restart your device
Always install firmware only through Trezor Suite, not from any external source.
Step 5: Create a New Wallet
After firmware installation, choose “Create New Wallet.”
This generates a new, secure cryptographic environment on your device.
Trezor will then instruct you to back up your recovery seed—the most important part of your wallet setup.
Step 6: Write Down Your Recovery Seed
Your recovery seed is a list of 12, 18, or 24 words (depending on model). These words are the master backup of your entire crypto wallet.
Important rules:
Write the words on the provided recovery card
Never take a photo or screenshot
Never type the seed into your phone or computer
Store the card in a safe offline location
Consider using a metal backup for fireproof protection
Anyone who gains access to your recovery seed can steal your crypto. Never share it with anyone—not even "support" agents.
Step 7: Create a PIN
Next, Trezor Suite will prompt you to set a secure PIN. This PIN prevents unauthorized access to your hardware wallet.
Tips for creating a strong PIN:
Avoid repeating digits (like 1111)
Avoid predictable sequences (like 1234)
Use the full available length
Never store the PIN digitally
If someone steals your device, the PIN helps keep your wallet safe.
Step 8: (Optional) Add a Passphrase
Advanced users may choose to create a passphrase, which acts as an extra layer of security on top of the recovery seed. Every unique passphrase creates an entirely separate hidden wallet.
Benefits of a passphrase:
Improves protection if your seed backup is found
Adds a second authentication factor
Makes unauthorized access nearly impossible
If you use a passphrase, be sure to memorize it or store it securely.
Step 9: Start Managing Your Crypto in Trezor Suite
Once setup is complete, you can begin:
Receiving cryptocurrency
Sending transactions
Viewing your portfolio
Tracking market performance
Managing multiple accounts
Using integrated privacy tools
Trezor Suite continually updates to support new blockchain protocols and provide ongoing security enhancements.
Security Best Practices When Using Trezor
For long-term security, follow these guidelines:
Keep your recovery seed offline at all times
Update firmware only through Trezor Suite
Never disclose private keys or seed words to anyone
Beware of fake Trezor apps, support sites, or browser extensions
Always verify address details on the device screen before confirming
Store your device in a secure, private location
Enable Tor in Trezor Suite if you want enhanced privacy
Your hardware wallet is only as secure as your habits. Consistency and awareness go a long way.
Frequently Asked Questions
Do I need the internet to set up my Trezor?
Yes, you need internet access to download Trezor Suite and firmware, but your private keys remain offline.
What if I lose my Trezor device?
You can restore your funds using your recovery seed on a new device.
Can I use Trezor with multiple cryptocurrencies?
Yes, Trezor supports hundreds of coins and tokens, including Bitcoin, Ethereum, and ERC-20 assets.
Final Thoughts
Using Trézor.io/Start ensures that your hardware wallet setup is secure, authentic, and guided by official instructions. The process is simple, beginner-friendly, and designed to give you complete control over your digital assets. With proper seed backup and safe usage practices, Trezor provides one of the most reliable methods for protecting your cryptocurrency from theft, hacking, and online vulnerabilities.
If you follow the steps carefully and maintain strong security habits, your Trezor device will give you long-term confidence and peace of mind in managing your crypto portfolio.